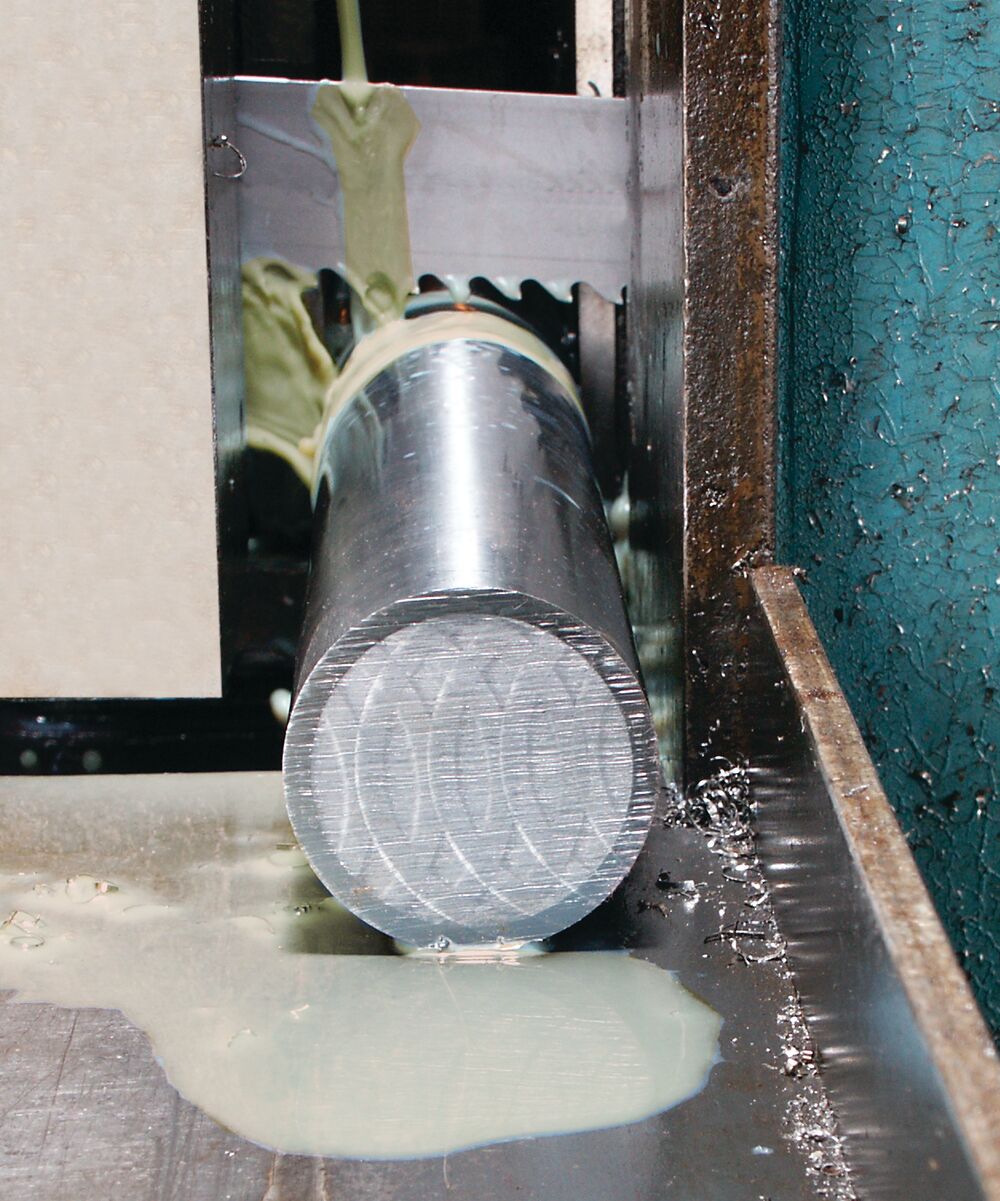
CARBIDE TIPPED BLADE FOR CASE AND THROUGH-HARDENED MATERIALS
HRC®
HIGH QUALITY, MICRO-GRAINED CARBIDE
Outstanding durability
STRONG TOOTH DESIGN
Superior edge strength and strip resistance
HIGH PERFORMANCE BACKING STEEL
Excellent fatigue life
REPLACES ABRASIVE CUT-OFF OPERATIONS
SPEED
LIFE
VERSATILITY
FINISH


Specifications
| WIDTH x THICKNESS | TPI | ||||
|---|---|---|---|---|---|
| IN | MM | 2/3 | 3 | 3/4 | |
| 1 x .035 | 27 x 0.90 |
• |
|
||
| 1-1/4 x .042 | 34 x 1.07 |
• |
• |
||
| 1-1/2 x .050 | 41 x 1.27 |
• |
|||
| 2 x .063 | 54 x 1.60 |
• |
|
|
|
Applications
Primary
Case-Hardened Tubes
Secondary
Solid Square / Rectangle
Solid Round
Plate
Tube
Materials

Primary
- Carbon Steels
- Case Hardened Materials
PRIMARY INDUSTRIES
SQUARE/RECTANGLE SOLID
LOCATE WIDTH OF CUT (W)
| WIDTH OF CUT | ||
|---|---|---|
| IN | MM | TPI |
| .1 | 2.5 | 14/18 |
| .2 | 5 | 14/18 |
| .3 | 7.5 | 10/14 |
| .4 | 10 | 10/14 |
| .5 | 12.5 | 8/12 |
| .6 | 15 | 8/12 |
| .7 | 17.5 | 6/10 |
| .8 | 20 | 6/10 |
| .9 | 22.5 | 6/8 5/8 |
| 1 | 25 | 6/8 5/8 |
| 2 | 50 | 4/6 |
| 5 | 125 | 3/4 |
| 10 | 250 | 2/3 |
| 15 | 375 | 1.5/2.0 1.4/2.0 |
| 20 | 500 | 1.0/1.3 |
| 25 | 675 | 1.0/1.3 |
| 30 | 750 | 1.0/1.3 |
| 35 | 875 | 0/7/1.0 |
| 40 | 1000 | 0/7/1.0 |
| 45 | 1125 | 0/7/1.0 |
| 50 | 1250 | 0/7/1.0 |
ROUND SOLID
LOCATE DIAMETER OF CUT (D)
| DIAMETER OF CUT | ||
|---|---|---|
| IN | MM | TPI |
| .1 | 2.5 | 14/18 |
| .2 | 5 | 14/18 |
| .3 | 7.5 | 10/14 |
| .4 | 10 | 8/12 |
| .5 | 12.5 | 6/10 |
| .6 | 15 | 6/10 |
| .7 | 17.5 | 6/10 |
| .8 | 20 | 6/8 5/8 |
| .9 | 22.5 | 6/8 5/8 |
| 1 | 25 | 6/8 5/8 |
| 2 | 50 | 4/6 |
| 5 | 125 | 3/4 |
| 10 | 250 | 2/3 |
| 15 | 375 | 1.5/2.0 1.4/2.0 |
| 20 | 500 | 1.0/1.3 |
| 25 | 675 | 1.0/1.3 |
| 30 | 750 | 1.0/1.3 |
| 35 | 875 | 1.0/1.3 |
| 40 | 1000 | 0/7/1.0 |
| 45 | 1125 | 0/7/1.0 |
| 50 | 1250 | 0/7/1.0 |
TUBING/PIPE/STRUCTURALS
LOCATE WALL THICKNESS (T)
| WALL THICKNESS | ||
|---|---|---|
| IN | MM | TPI |
| .5 | 1.25 | 14/18 |
| .10 | 2.5 | 10/14 |
| .15 | 3.75 | 8/12 |
| .20 | 5 | 6/10 |
| .25 | 6.25 | 6/8 5/8 |
| .30 | 7.5 | 6/8 5/8 |
| .40 | 10 | 4/6 |
| .50 | 12.5 | 4/6 |
| .60 | 15 | 4/6 |
| .70 | 17.5 | 3/4 |
| .80 | 20 | 3/4 |
| .90 | 22.5 | 3/4 |
| 1 | 25 | 3/4 |
| 1.5 | 37.5 | 2/3 |
| 2 | 50 | 2/3 |


